Importance of Website Design in Dropshipping
Your website design can make or break your dropshipping business. It’s the first thing customers see, and first impressions count. A clean, professional design instantly builds trust, making visitors feel confident to buy from you.
A well-designed website also boosts sales. If your store is easy to use, customers are more likely to browse, add items to their cart, and complete their purchase. Plus, since most shoppers use their phones, your site needs to look perfect on mobile devices too.
Don’t forget, a polished design shows you’re serious about your business. It reflects your brand’s quality and helps you stand out from the competition. A great-looking store creates a sense of trust, and trust turns visitors into loyal customers.
Choosing The Right Theme
Choosing the right theme for your Shopify store is key to your dropshipping success. A well-designed store instantly builds trust and credibility, while a poorly designed one drives customers away. Look for themes that are mobile-friendly, easy to customize, and packed with features like product slideshows and social media integration. These elements make your store look professional and help connect with your audience. A clean, responsive design ensures your customers have a smooth shopping experience, which boosts sales and makes your brand memorable.
How to Apply Shopify Themes
Shopify themes give your dropshipping store a professional look and smooth functionality without the hassle. These pre-designed templates are customizable, so you can tailor them to match your brand and products perfectly. With built-in features like product slideshows, image galleries, and social media integration, Shopify themes save you time and money while still delivering a polished, engaging store. They’re mobile-responsive, so your store will look great on any device. Plus, no coding or design experience is needed—just install and customize. With so many themes available, you can easily find one that fits your needs and budget.
Here are the steps to follow:
- Log in to your Shopify account and go to your store admin panel.
- Click on the “Online Store” option in the left-hand menu, then select “Themes”.
- Click the “Explore free themes” button to browse the free themes available in the Shopify Theme Store. Alternatively, you can click the “Visit Theme Store” button to browse both free and paid themes.
- Once you find a theme you like, click on it to view its details and demo. If you like the theme, click on the “Add theme to my store” button.
- After adding the theme to your store, you can customize it by clicking on the “Customize” button. This will take you to the theme editor, where you can change colors, fonts, and layouts.
- In the theme editor, you’ll see a panel on the left-hand side with various options for customizing your theme. These options may include:
- Layout: Here, you can choose the layout for different pages on your store, such as the homepage, product pages, and collection pages. You can also choose the number of products to display per page and enable or disable features like breadcrumbs and social sharing.
- Colors: In this section, you can change the colors of various elements in your store, such as the background, text, links, and buttons. You can choose from pre-set color schemes or create your own custom colors.
- Typography: Here, you can choose the fonts for different types of text on your store, such as headings, body text, and buttons. You can choose from pre-set font combinations or select your fonts.
- Images: In this section, you can upload your own logo, header image, and slideshow images. You can also adjust the size, position, and spacing of these images.
- Navigation: Here, you can customize the navigation menu on your store, including the order and layout of the menu items. You can also add custom links and dropdown menus.
- Social media: In this section, you can connect your store to your social media accounts and display social media icons on your store.
- Checkout: Here, you can customize the checkout process, such as enabling or disabling guest checkout and adding custom text to the order confirmation page.
- If you want to add your logo or images, click on the “Header” or “Image” sections in the theme editor.
- Once you’re satisfied with the changes, click the “Save” button to apply them to your store.
- If you want to preview how your store will look with the new theme, click on the “Actions” button and select “Preview theme.”
- If you’re happy with the new theme, click the “Actions” button and select “Publish theme” to make it live on your dropshipping store.
Coolors for Colors Selection
Coolors is the perfect tool for effortlessly creating color palettes for your online store. Whether you want to manually select colors or let the tool generate a palette for you, Coolors makes the process easy. You can lock in specific colors while refreshing others until you get the perfect combination. It’s a fast and simple way to create a cohesive color scheme for your website—helping your brand stand out with a professional, polished look.
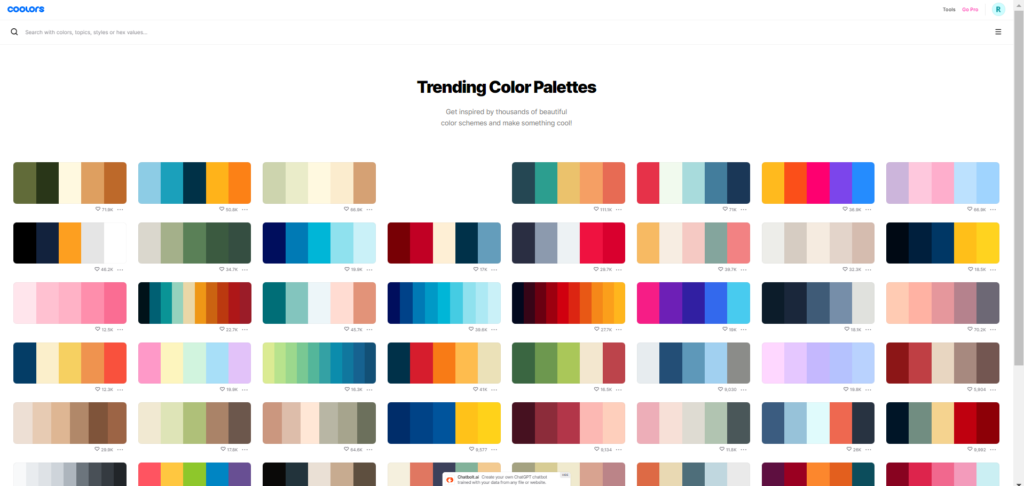
When picking a color palette for your dropshipping website, it’s crucial to choose wisely. Align your colors with your brand’s tone and message to create a cohesive feel that resonates with your audience. Keep your palette simple—stick to 3-5 colors for consistency. Ensure enough contrast for readability and accessibility, ensuring every visitor can easily navigate your site. Before applying a palette to your website, test your color choices with a mockup to see how they work together. The right color palette can enhance your brand’s image and make your store more inviting for customers.
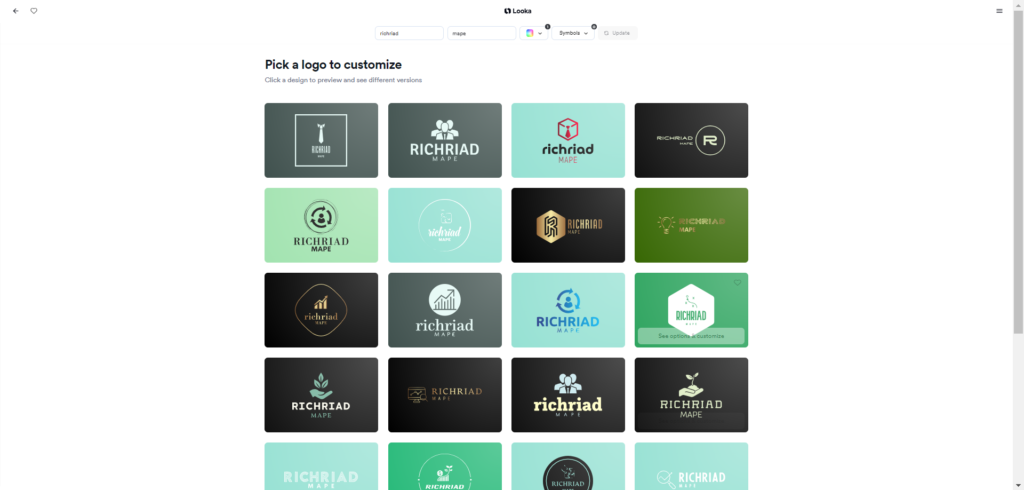
Looka for Logo Selection
Looka is a smart, AI-powered platform that makes designing a professional logo quick and easy. With a wide range of customization options—like design styles, colors, and layouts—you can create a logo that perfectly fits your brand in no time. The best part? You don’t need to hire an expensive designer. For small businesses or startups on a budget, Looka is a cost-effective way to get a professional logo fast. The platform generates multiple logo options, giving you more choices to find the perfect match. You can also tweak and adjust your design until it’s just right. While Looka simplifies logo creation, remember that building a complete brand identity may still require a designer for typography, layout, and broader design concepts.
Here is a step-by-step guide on how to use Looka to create a professional logo:
- Go to the Looka website (looka.com) and click on the “Get Started” button.
- Enter your business name and tagline (if you have one) in the fields provided.
- Choose the industry or category that best describes your business from the drop-down menu.
- Looka will then generate a variety of logo options based on your input. You can browse through these options and select the ones you like best by clicking on the heart icon.
- Once you’ve selected a few options, click the “Customize” button to begin editing your logo.
- On the next page, you can customize various aspects of your logo, such as the color, layout, and text.
- To change the color of your logo, click on the color palette icon and select a new color.
- To change the layout of your logo, click on the layout icon and select a new layout.
- To change the text of your logo, click on the text icon and enter your desired text.
- Once you’re satisfied with your logo, click on the “Download” button to download your logo.
- You will be prompted to create an account or sign in to your existing account.
- After that, you will be able to download your logo in various formats, such as PNG, SVG, and EPS.
- You can also purchase additional branding materials, such as business cards and social media kits, with your logo.
Creating Product Collections on Shopify
In Shopify, a collection is a powerful tool that helps organize your products, making it easier for customers to find what they’re looking for. Whether it’s “Best Sellers” or “New Arrivals,” collections guide shoppers directly to what matters most. You can create collections based on anything—product type, price, brand, or even specific tags. For example, a “Sale” collection can highlight discounted items, driving more attention to deals. By grouping products into collections, you create a smoother shopping experience that boosts customer satisfaction and helps increase sales.
- Log in to your Shopify admin dashboard.
- From the left-hand menu, select “Products” and then “Collections”.
- Click the “Create collection” button.
- Enter a name for your collection in the “Collection title” field.
- Add a description of your collection in the “Description” field. This is optional but recommended for SEO purposes.
- Choose whether you want your collection to be “Custom” (manual) or “Automated”.
- For a custom collection, you’ll need to add products manually.
- For an automated collection, you’ll set rules for Shopify to follow to automatically add or remove products from the collection.
- If you choose “Custom”, you can add products manually by searching for them in the “Products” section and clicking the “Add” button next to each product.
- If you choose “Automated”, you can set rules for your collection by clicking the “Add condition” button. You can set rules based on product title, type, vendor, tags, price, and more.
- Choose whether you want your collection to be visible or hidden by selecting or deselecting the “Online Store” checkbox.
- Click “Save” to create your collection.
Dropshipping Tools:


Congratulations you completed:
3/8
38%